
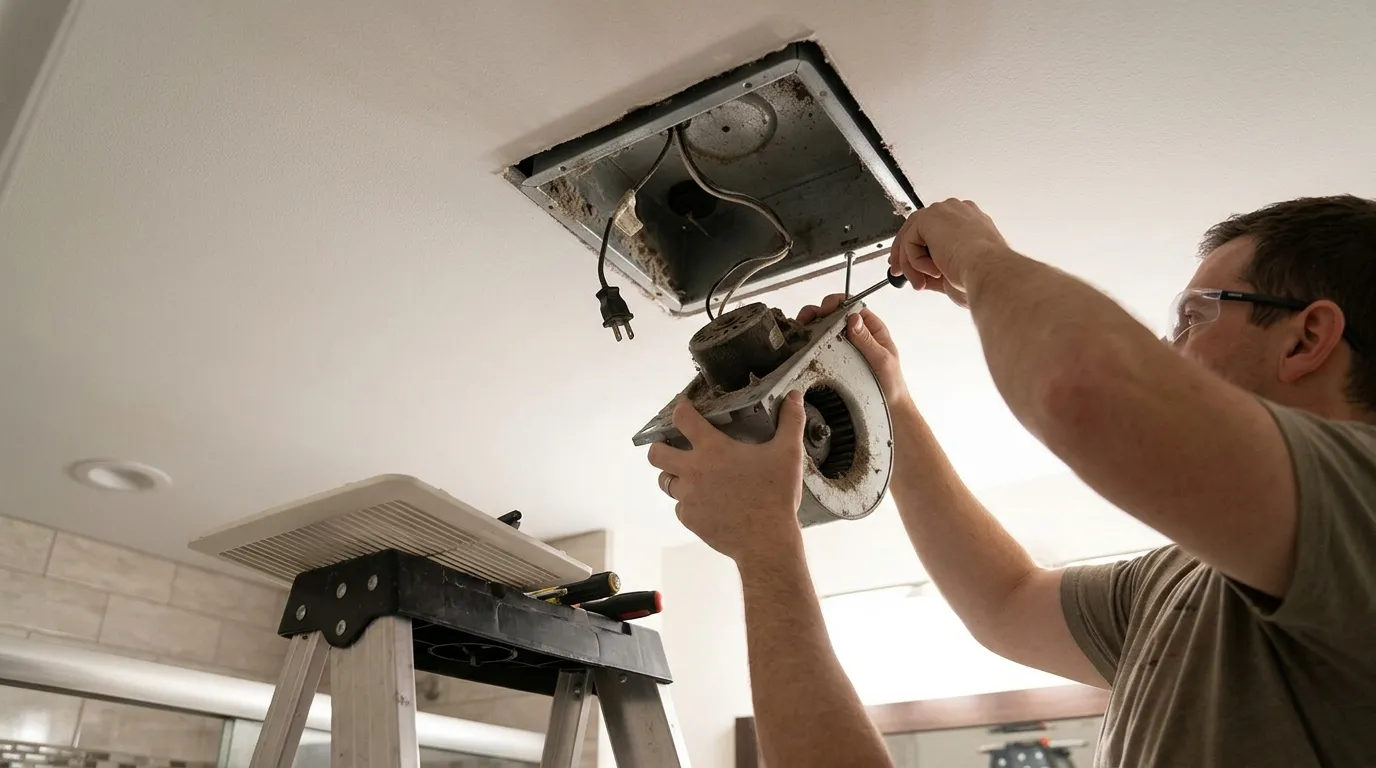
Can You Swap an Old Broan Fan Motor from Below Without Attic Access?
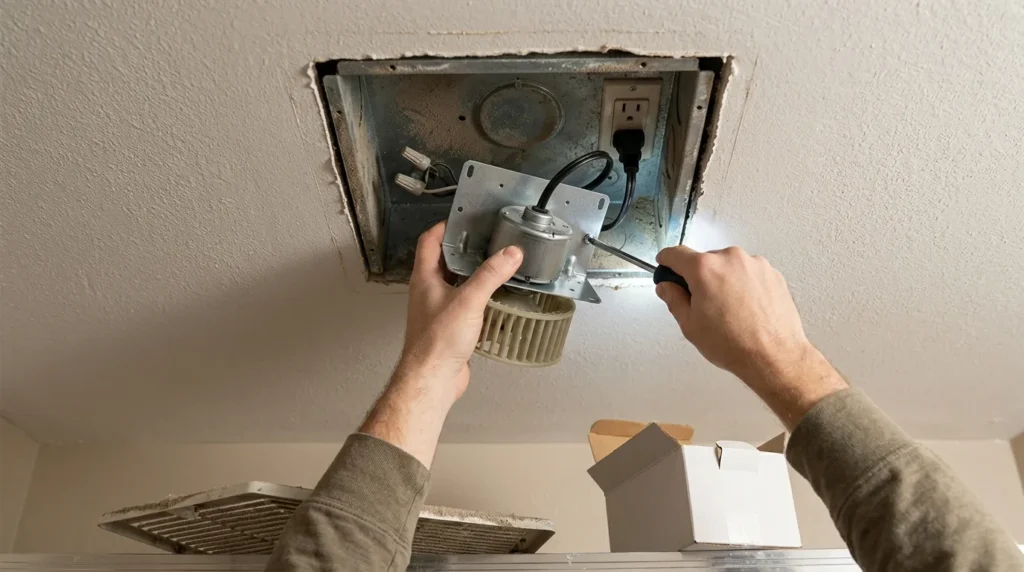
Deciding whether you can swap an old Broan fan motor from below without attic access is a common dilemma for homeowners facing failing bathroom ventilation. Many older units are designed for installation from above, but modern replacement parts often allow for a bottom-up repair. Understanding how to navigate this project saves you from the headache of crawling through tight, dusty spaces or cutting into your ceiling drywall.
By identifying your specific housing model and sourcing the correct motor kit, you can often restore airflow using only basic hand tools. This article provides the technical details you need to evaluate your setup and complete the replacement efficiently.
The short answer is yes, you can usually perform this repair from the room side, provided your fan housing is compatible with modern drop-in motor assemblies. Most Broan and NuTone units have a removable motor bracket that slides or clips into the metal housing, allowing for removal without disturbing the exterior ductwork or attic insulation.
Before you commit to the project, remove the decorative grille and inspect the mounting plate for a small screw or spring clip. If you see a clear path to unhook the motor assembly, you are likely in the clear to proceed without ever setting foot in your attic.
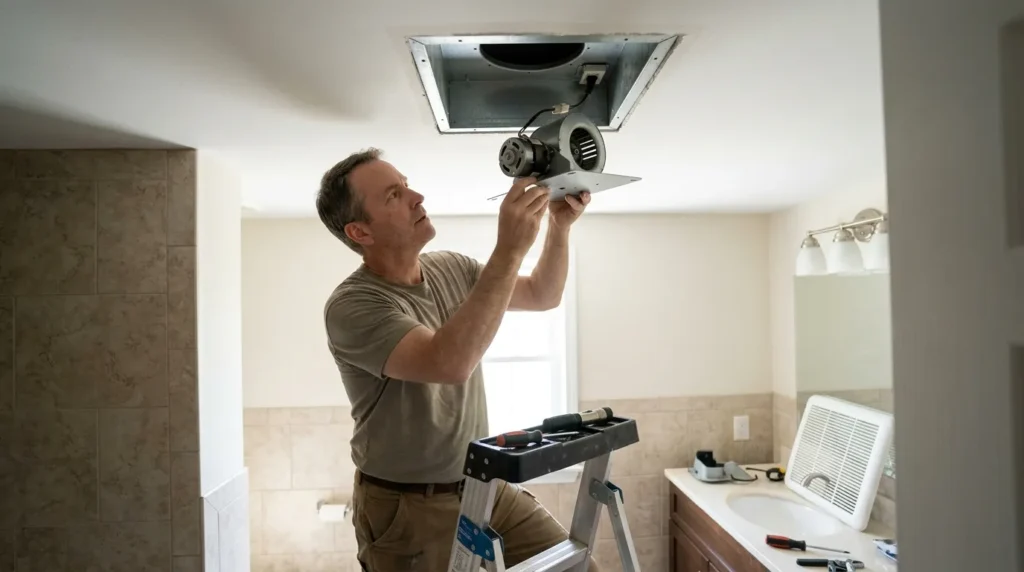
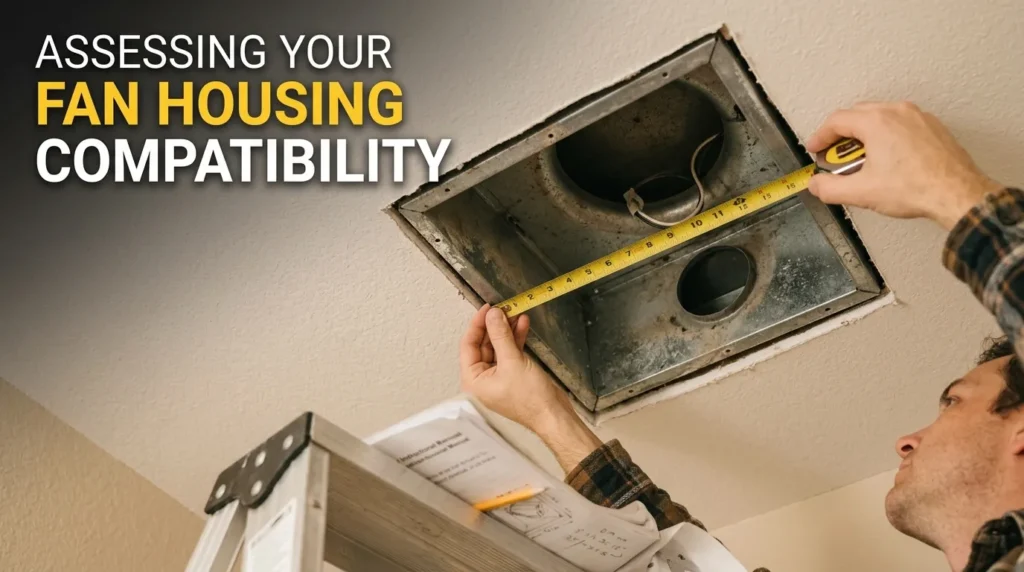
Assessing Your Fan Housing Compatibility
Not every bathroom fan is built for bottom-up maintenance, so a visual inspection is your first priority. Start by pulling down the plastic or metal grille, which is usually held in place by two tension springs. Once the grille is off, look for the motor housing plate that supports the fan wheel and the motor itself.
You should see a single screw or a pair of clips anchoring this plate to the main fan box. If the unit is heavily rusted or the housing is integral to the ceiling joist structure, you might face complications that require a full housing replacement instead.
Older Broan models often used a specific “plug-in” receptacle for the motor, which makes the swap significantly easier. Check if the power cord for the motor runs to a small wall-mounted outlet inside the housing or if it is hardwired directly into a junction box. If it is plugged into an internal outlet, you are looking at a simple unplug-and-replace task.
If the wiring goes into a hidden junction box, you will need to carefully disconnect the wires from the underside. Always ensure you have a National Electrical Code compliant setup when dealing with exposed wiring.
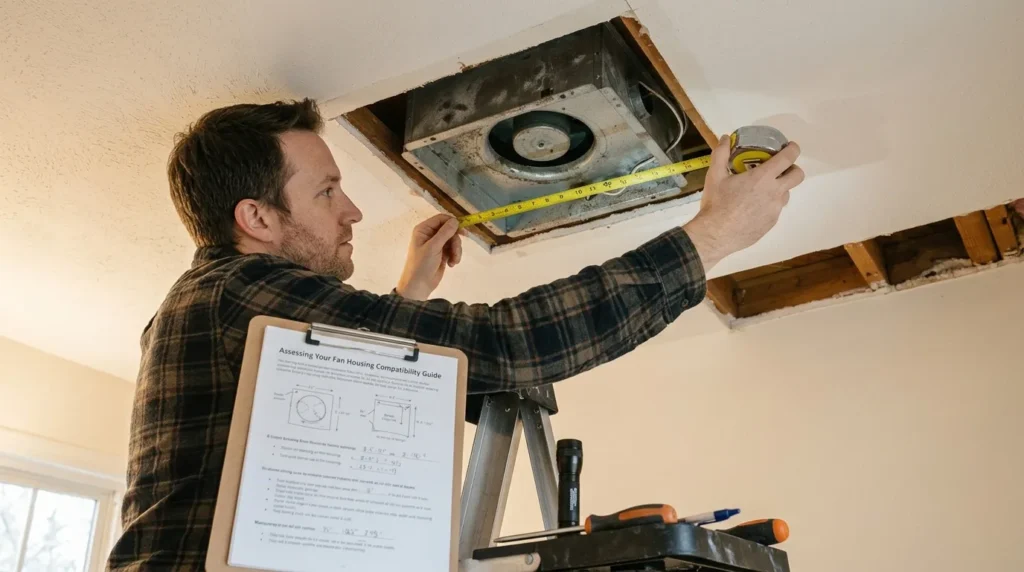
Essential Tools for the Job
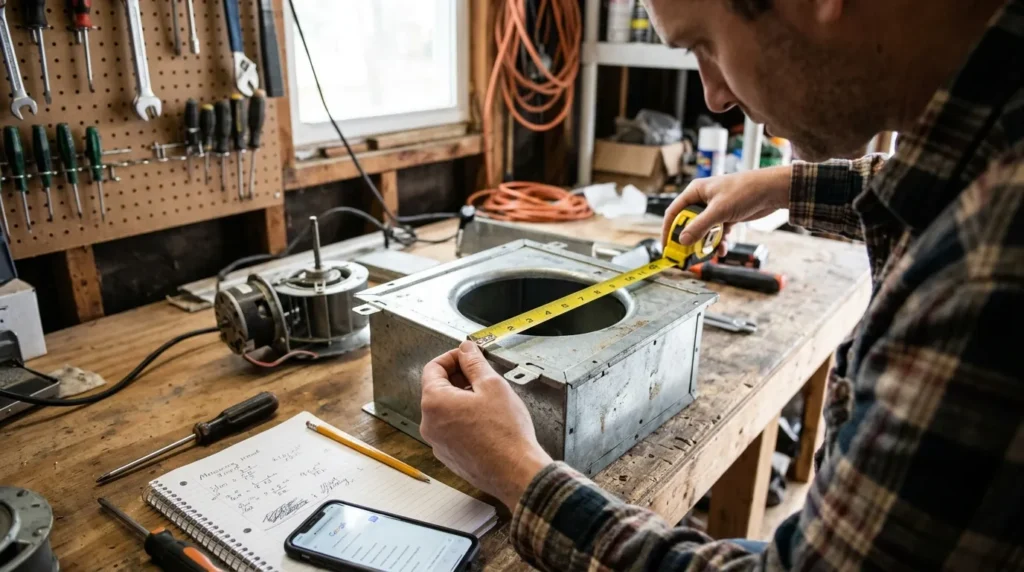
Before attempting a motor swap, you need to gather a specific set of tools to ensure the process goes smoothly. Working from a stepladder in a confined space requires precision, so having everything within reach is critical.
You do not want to be fumbling for a tool while holding a heavy motor assembly above your head. Lay out your equipment on a stable surface before you start, as this prevents unnecessary trips up and down the ladder.
- Needle-nose pliers and wire strippers: Essential for managing small electrical connections and removing old, brittle insulation.
- Multi-bit screwdriver set: You will likely encounter both Phillips and flat-head screws, and a multi-bit tool saves space.
- Work light or headlamp: Ceiling cavities are notoriously dark, and a headlamp keeps your hands free for the actual repair.
- Replacement mounting screws or clips: Old hardware is often stripped or rusted, so having a fresh set is a smart precaution.
- Voltage tester: Never assume the power is off; verify the circuit is dead before touching any wiring.
The Step-by-Step Motor Replacement Process
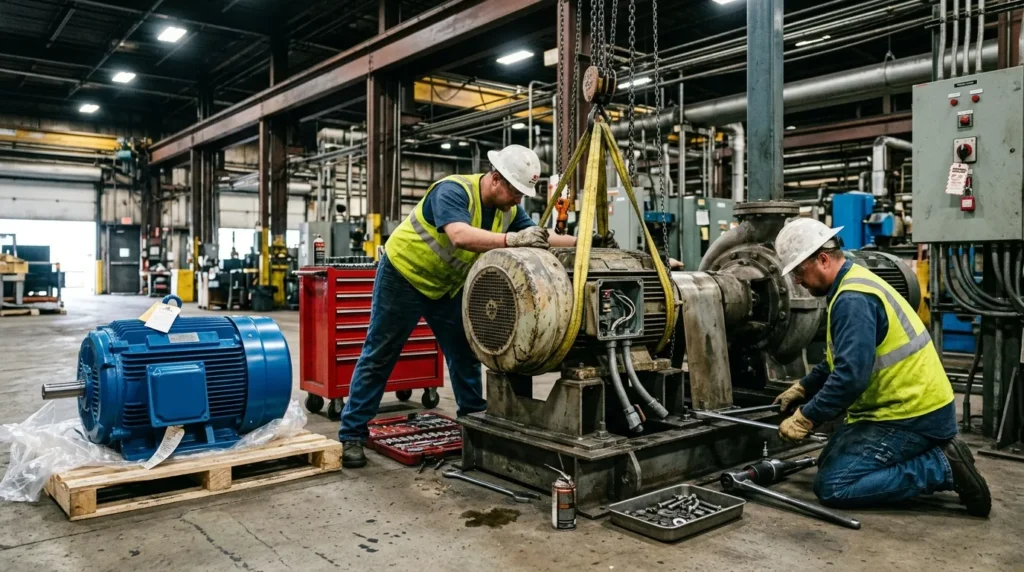
The actual procedure requires patience and a steady hand. Start by turning off the power at the main circuit breaker to ensure your safety. Remove the decorative cover and the metal grille, then use your screwdriver to remove the screw holding the motor bracket in place.
Carefully pull the motor and blower wheel assembly downward until you can access the electrical plug or wiring connections. If the assembly is stuck due to years of dust and grease, gently wiggle it back and forth to break the seal.
Once the assembly is loose, disconnect the power cord or the hardwired leads. If the wires are connected with wire nuts, unscrew them and separate the conductors. Pay close attention to how the old motor was oriented, as the new one must be installed in the exact same position to ensure proper airflow.
When working from below, keep a small container nearby to catch any screws that might fall out. Losing a vital piece of hardware inside the ceiling cavity can turn a thirty-minute job into a multi-hour ordeal.
Selecting the Right Replacement Part
Finding the correct replacement motor is often the most challenging part of the entire project. Broan has manufactured hundreds of fan models over the decades, and many look identical from the outside. You must locate the model number, which is typically printed on a sticker inside the housing.
If the sticker is missing or illegible due to age, measure the dimensions of the fan housing and the motor shaft diameter. You can also compare your current motor’s wattage and amperage to ensure the new unit is compatible with your existing switch and wiring.
A high-efficiency replacement is often a better choice than an exact OEM match if one is available. Modern motors are frequently quieter and use less electricity, which can significantly reduce the noise level in your bathroom. Check for “universal” replacement kits that come with adjustable mounting brackets, as these are designed specifically for people trying to avoid attic access.
While these kits offer flexibility, they may require minor adjustments to fit the older housing perfectly. Always verify the CFM (cubic feet per minute) rating to ensure the new motor provides adequate ventilation for your bathroom size.
Troubleshooting Common Issues
Even with the right parts, you may run into unexpected hurdles during the installation. One frequent problem is a motor that vibrates or makes a loud grinding noise after the swap. This usually indicates that the blower wheel is not seated correctly or is slightly out of balance.
If you hear a high-pitched whine, check to see if the fan wheel is rubbing against the housing walls. A small adjustment to the mounting bracket or the position of the motor itself can often resolve these alignment issues.
Another common issue involves brittle wiring that breaks during the disconnection process. If the wires inside your ceiling are cracked or charred, you must trim them back until you reach fresh copper. If the wire is too short to reach the new motor, you may need to use a junction box to extend the circuit properly.
Never leave loose or poorly insulated wire connections inside the ceiling, as this poses a significant fire risk. If you find significant damage to the existing wiring, it is best to consult a professional electrician rather than attempting a patch job.
Comparison of Replacement Methods
Choosing between a motor swap and a full unit replacement depends on the condition of your existing housing. While a motor swap is faster and cheaper, it only addresses the mechanical failure.
If your housing is rusted or the duct connection is loose, a simple motor swap will not fix the underlying ventilation issues. The table below compares the two approaches to help you decide which path is appropriate for your situation.
| Feature | Motor Swap Only | Full Unit Replacement |
|---|---|---|
| Difficulty Level | Moderate | High |
| Access Needed | Below only | Attic access required |
| Cost | $40 – $90 | $150 – $400+ |
| Time Required | 1 – 2 hours | 4 – 8 hours |
| Longevity | Depends on housing | High (new components) |
Managing Dust and Debris
Working on a bathroom fan from below means that dust and debris will inevitably fall onto your floor and fixtures. Before you begin, lay down a large drop cloth or a piece of cardboard to protect your vanity and flooring.
Use a shop vacuum to clear away as much dust as possible from the housing before you disconnect the motor. This simple step makes the environment much cleaner and prevents you from inhaling decades of accumulated bathroom lint.
If the fan has been neglected for years, you might find a significant buildup of hair and dust on the squirrel cage blower wheel. This debris not only restricts airflow but also adds weight that can wear out the motor bearings prematurely. Use a soft brush or a compressed air canister to clean the interior of the housing thoroughly.
A clean housing will allow the new motor to run more efficiently and quietly. If you notice mold or mildew inside the unit, wear a dust mask or respirator to protect yourself from airborne spores.
Final Checks Before Completion
Before installing the new motor, the replacement is complete only after you have tested the unit’s operation. Temporarily connect the power and turn the switch on to ensure the motor spins freely and without excessive vibration.
Listen for any unusual sounds that might indicate a loose mounting point or a misaligned fan blade. Once you are satisfied with the performance, turn the power back off and finalize the wiring connections with secure wire nuts.
After the wiring is finished, carefully tuck the leads back into the housing and secure the motor assembly with the provided screws or clips. Double-check that all wires are clear of the rotating fan wheel to prevent damage. Reinstall the metal grille and the decorative cover, ensuring they are flush against the ceiling.
Finally, turn the power back on and test the fan one last time. If everything is secure and the fan is operating quietly, your project is successful.
FAQ
Can I use a universal fan motor for my Broan unit?
Yes, many universal motor kits are designed to fit a wide range of Broan and NuTone housings. You should match the shaft size, rotation direction, and mounting style to ensure a proper fit before purchasing.
What if the motor bracket is rusted solid?
If the screws are rusted, apply a penetrating oil and let it sit for several minutes before attempting to turn them. If the metal itself is severely corroded, you may need to cut the bracket out, which often necessitates a full housing replacement.
Do I need to replace the blower wheel too?
It is highly recommended to replace the blower wheel if the new motor kit includes one. Over time, plastic wheels can warp or become brittle, and using a fresh, balanced wheel will significantly improve the fan’s efficiency and noise levels.
How do I know if my fan is hardwired?
If you do not see a standard electrical plug inside the housing after removing the motor, the unit is hardwired. This means the motor leads are connected directly to the building’s wiring via wire nuts, which you will need to disconnect manually.
Is it possible to upgrade the CFM while swapping the motor?
While you can sometimes find a more powerful motor, you must be careful not to exceed the capacity of your existing ductwork. If the duct is too small or restricted, a more powerful motor will simply cause more noise and backpressure rather than better ventilation.
Conclusion
Successfully determining if you can swap an old Broan fan motor from below without attic access depends largely on the specific model and the condition of your existing ceiling housing. By carefully inspecting the internal mounting hardware and verifying the electrical connection type, you can often avoid the labor-intensive process of accessing the space above your ceiling. Remember to prioritize safety by confirming the power is disconnected and using the right tools for the job.
While this task requires attention to detail, it is a manageable project for most homeowners. If you find that the housing is too damaged or the wiring is compromised, don’t hesitate to reach out to a local professional to ensure the work meets all safety standards.